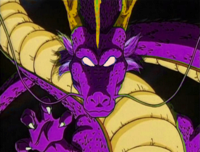
SOZ i havent been here guys..... ive been too busy on a Warrior Cats forum ^^; and this forum seems pretty dead too.... But i just remembered i was gonna make a tutorial for this so here it is! This is for a basic bead dragon (which is a modified bead lizard if you ever made one of those) but you can use the same techniques and adjust the pattern to make ones that look different, like the Shenlong i made!
Sory for the quality of teh photos... i took them on my DSi and i started running out of daylight too...
Stuff you need: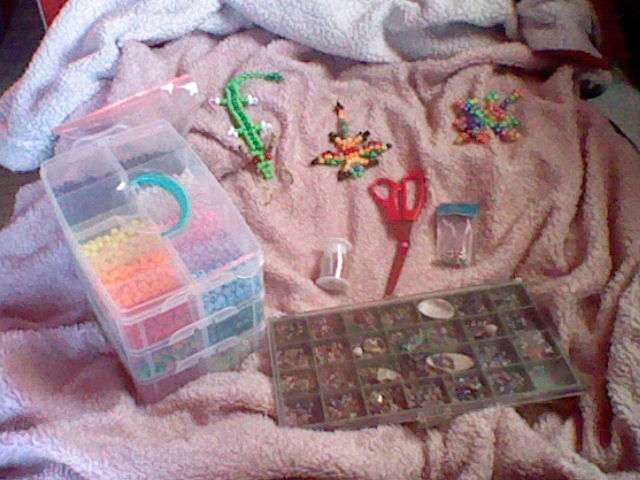
- Beads (Regular beads, and also optionally really small beads if you want to add whiskers. Make sure they are big enough for your wire to fit through twice though!)
- Wire (you CAN use other kind of cord too but i dont recommend it if you are going to add wings because that will make it very floppy)
- Scissors
- Clasps (optional but it lets you clip it onto something!)
Instructions: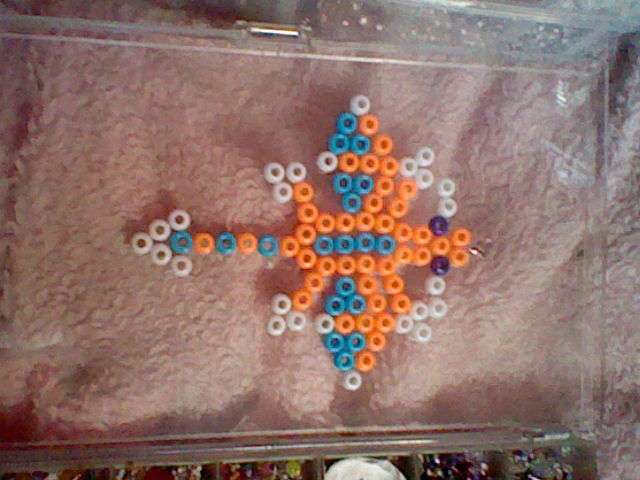
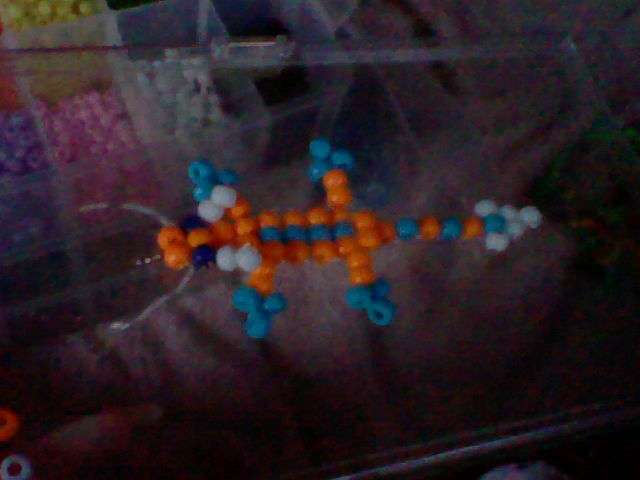
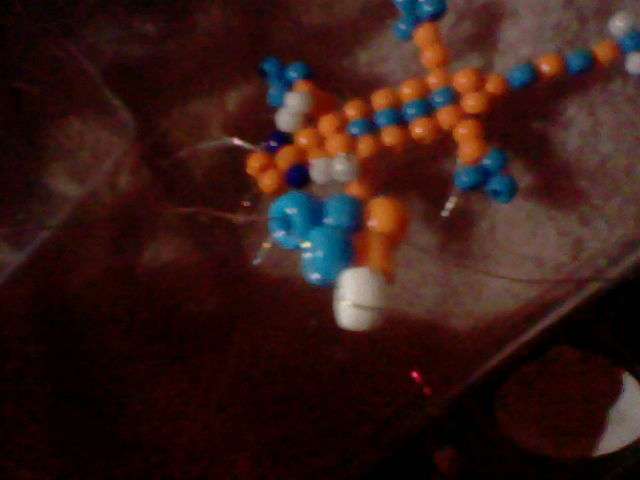
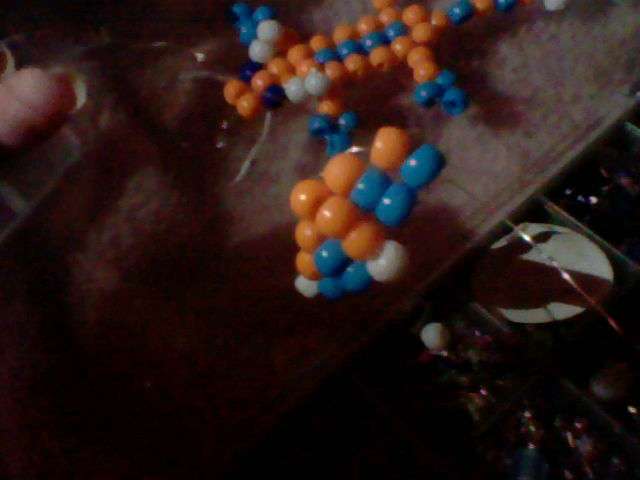
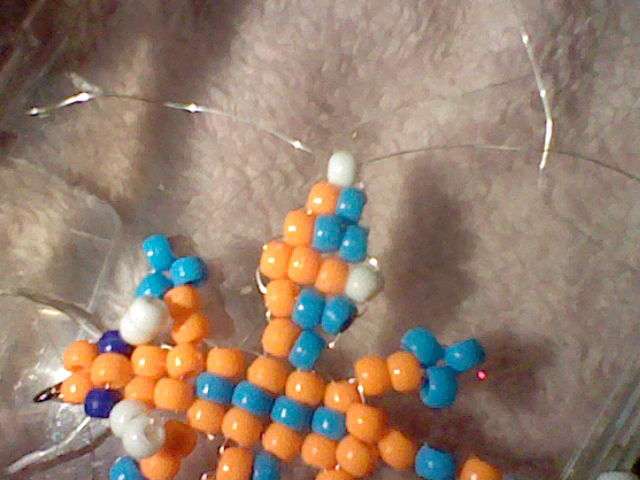
I usually start by plotting out the beads im going to use and the pattern of them to make sure i have all the beads i need. I did end up changing the feet to be blue though after this photo XD i think this was 88 regular beads + 14 tiny beads.
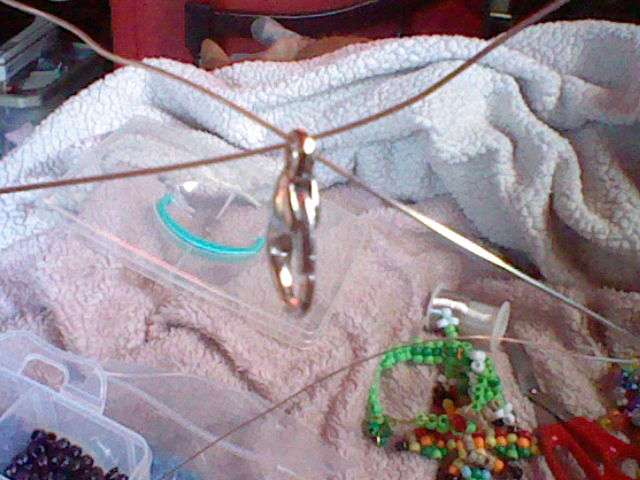
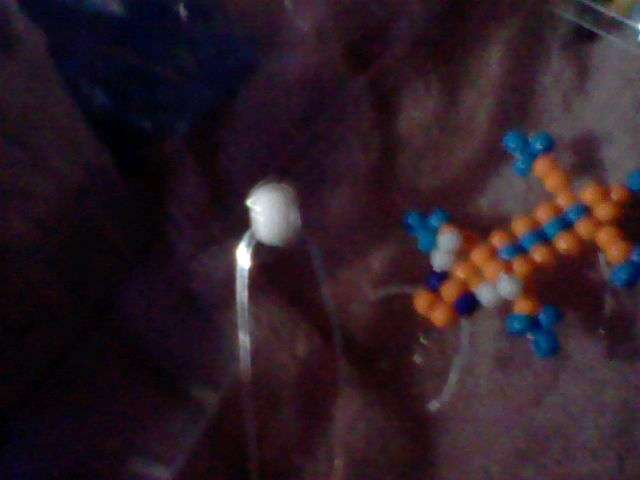
Then you cut a big length of wire. I couldn't get a good photo of this sorry

i dont really know how long its supposed to be, i just wing it... If you run out you can always tie more on but its difficult with wire.
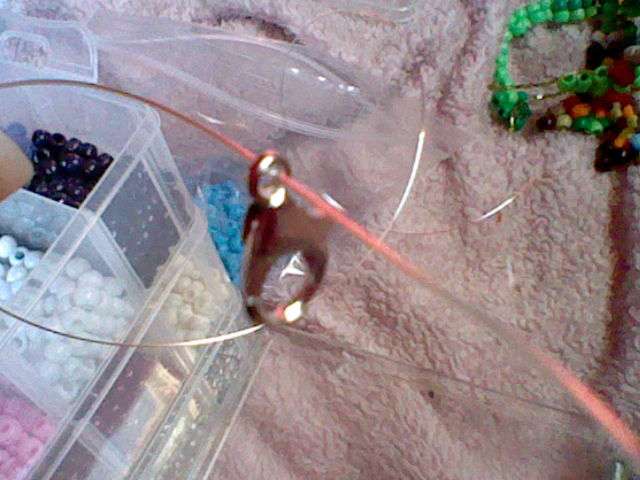
Now first you take one end of your wire and put it through the little hole on top of your clasp (if you are adding a clasp.)
(^ ZOMG u can see my cat's ears!!) Then you take the other end of the wire and put it through the other way so it forms an X shape. I call this "crossing" and will use that term most of the rest of the tutorial.

Then you pull both sides tight until it settles in the middle.

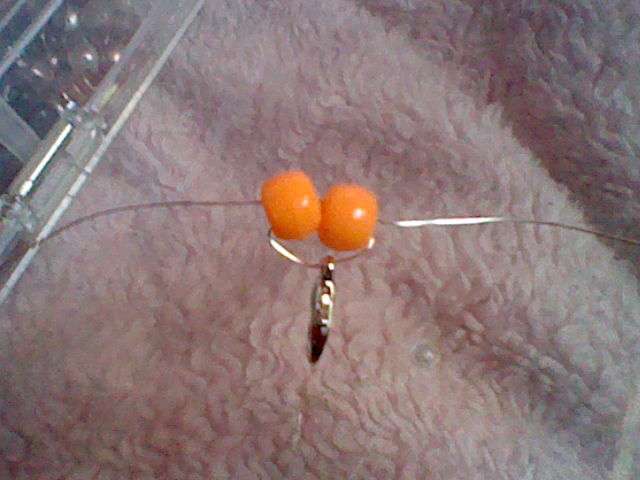
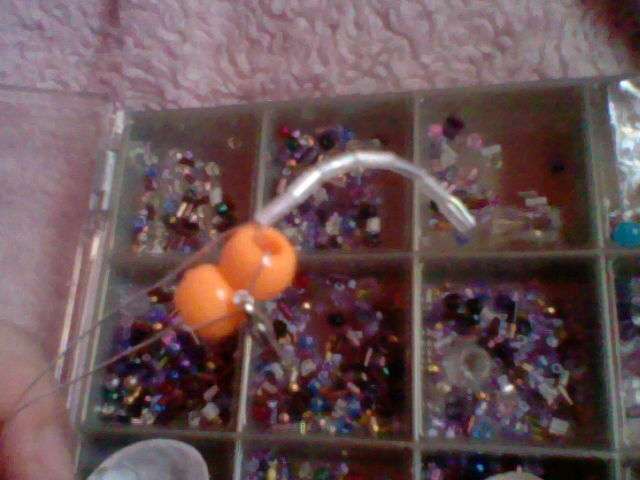
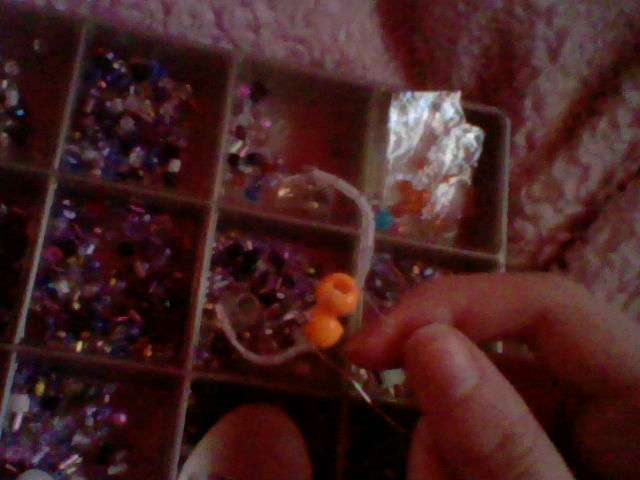
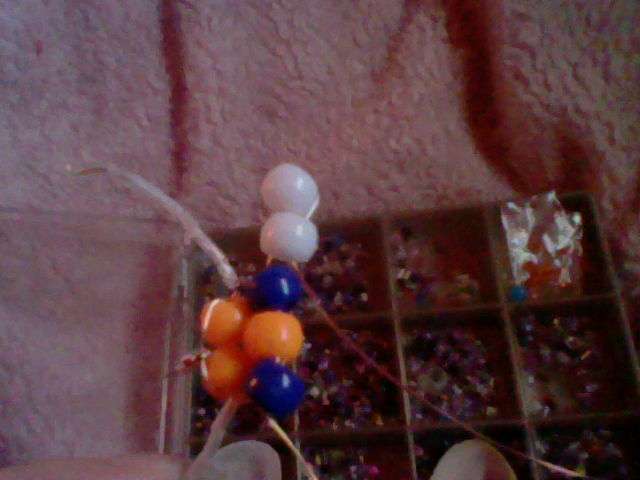
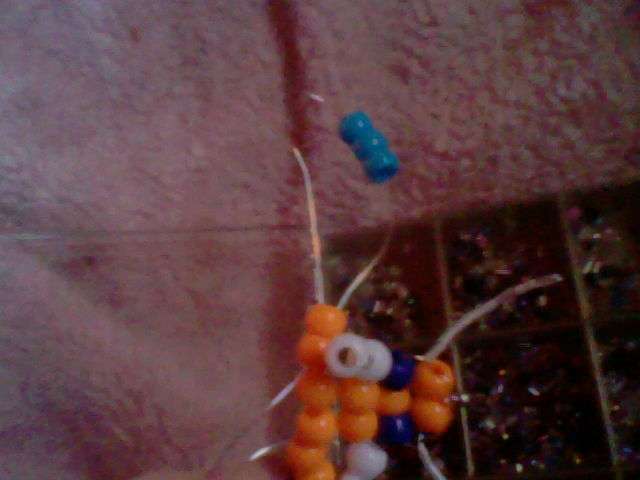
Now you do the same thing by crossing the beginning of the muzzle (the front of the face) which in this case means two orange beads. if you are skipping the clasp you can also just start with this instead.
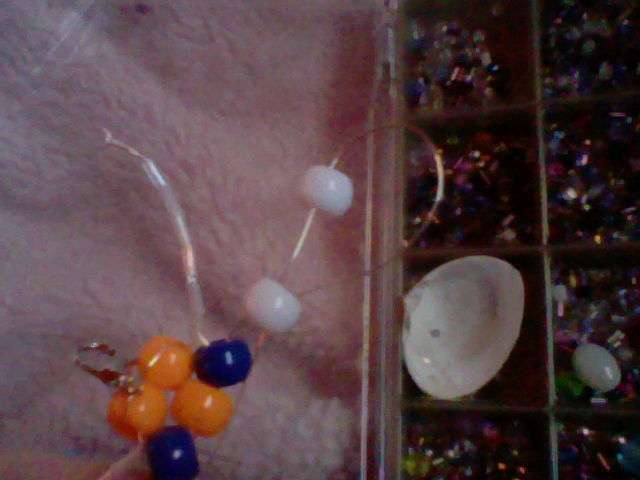
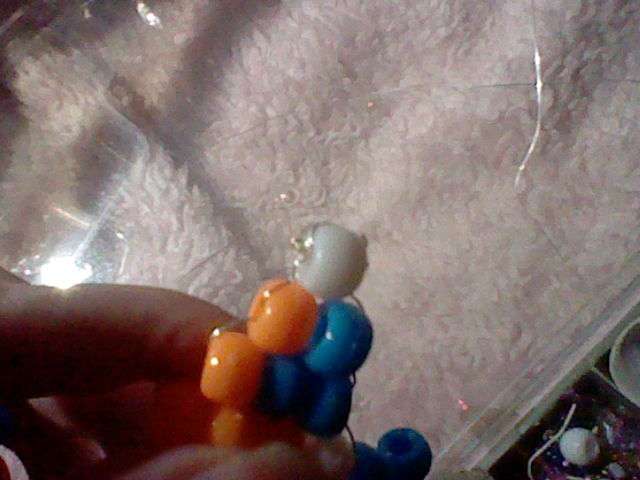
Now we do the whiskers. Take ONE SIDE of the wire and put all the beads for the wire on, which for this dragon will be seven tiny white beads.

Put them down at the dragon but make sure they don't get stuck inside the bigger beads. Take the end of the wire coming out of the LAST bead and then thread it back through all the beads BEFORE it. Pull it tight.

Take the OTHER side of the wire and do the same thing there.

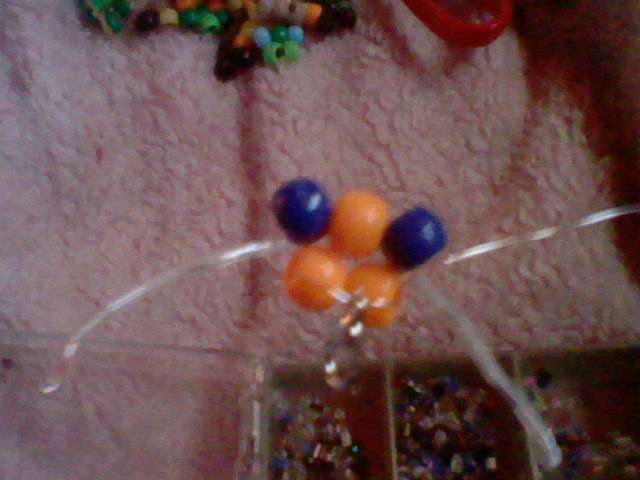
Now take both wires and cross on the next row, which for this dragon will be a blue for an eye, orange for the center of the head, and another blue for the other eye.

Now the horns. You do a similar thing that you do for the whiskers. You take ONE SIDE of the wire and string on all the beads for the horns (you have to have two minimum but you can add as many as you want).
Like you did with the whiskers, take the wire coming out of the last bead and thread it backwards through the previous bead(s). Pull it tight.

Do that on the other side too.
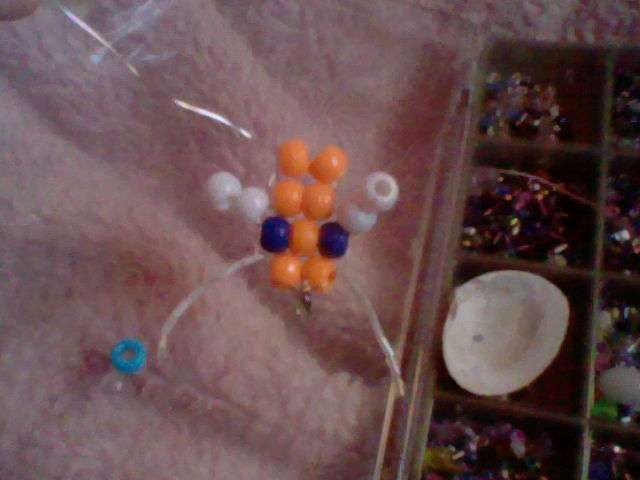
Now take both wires and cross on the end of the head and the neck. Usually a typical bead lizard doesnt have a row for the neck but with the horns it looks a little cleaner if you give it a neck.
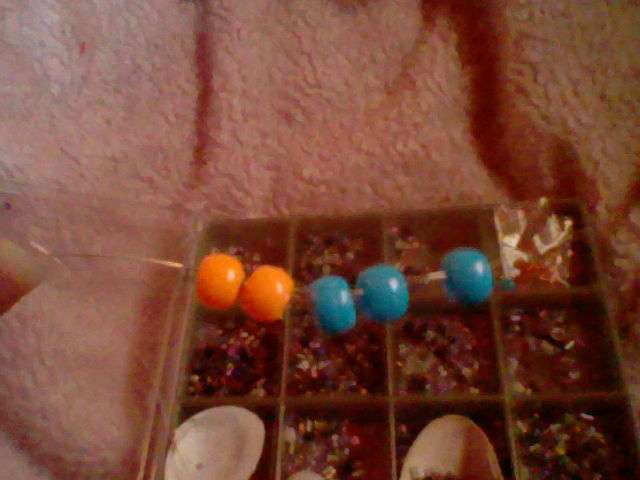
Now we do the legs! Take ONE SIDE of the wire and then put on the beads for the leg itself (typically two), and three beads for the paws.

Like you did with the horns and whiskers you take the wire coming out of the end, but you skip ALL THREE of the paw beads to only thread through the leg itself. Tighten it, you might need to adjust the claws a little to make them look right.
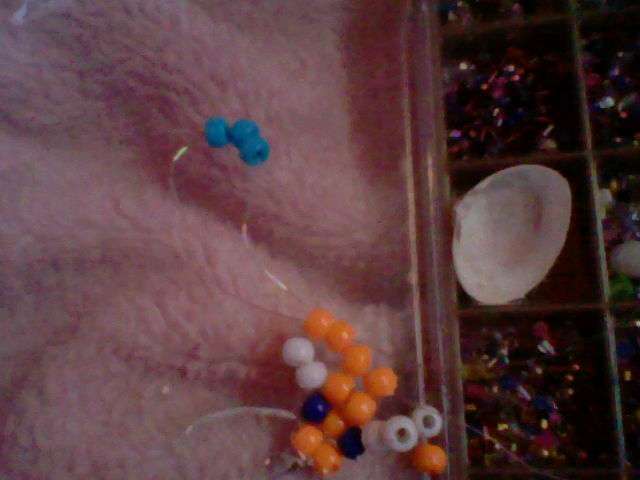
Do it on the other side too. I forgot to take a photo of it tightened so just trust me x_x;

Now cross on teh main body rows but stopping right before the base of the tail. Make sure theres at least two clear body rows if youre adding wings.
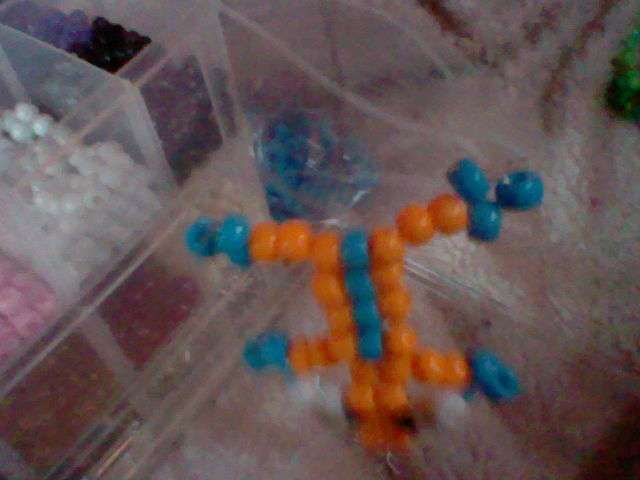
Do the back legs you same way you did the front legs.
Then you cross on the rest of the taill.
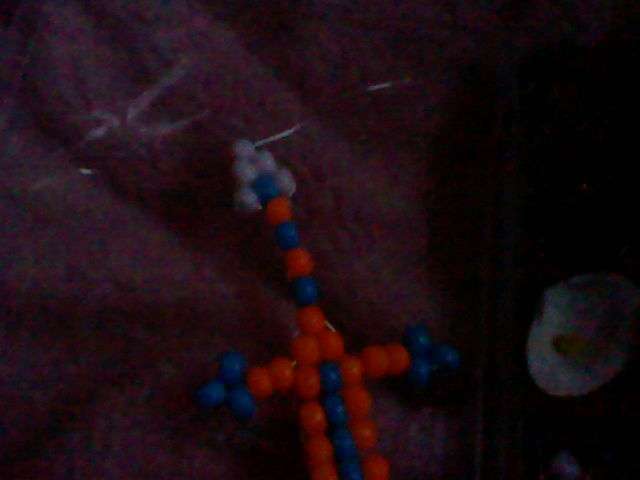
Hard to take a pic of this... cross the wires and pull them tight like youre tying a shoelace, then do that again... and a third or fourth time for good measure XD

Cut the long ends.
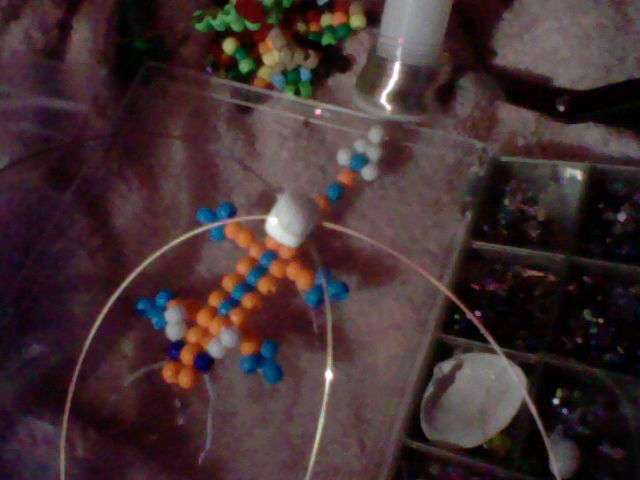
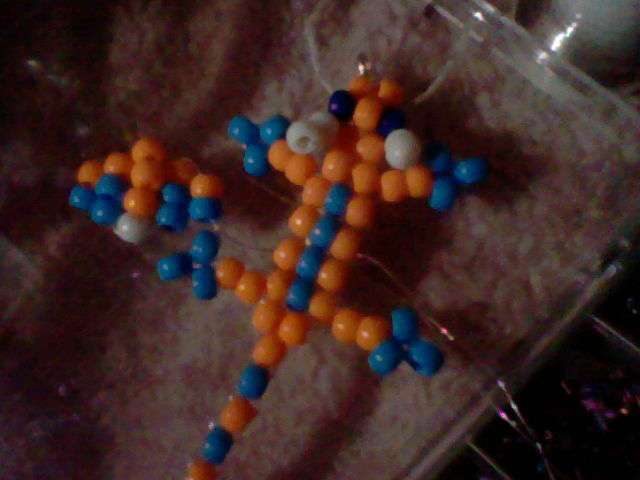
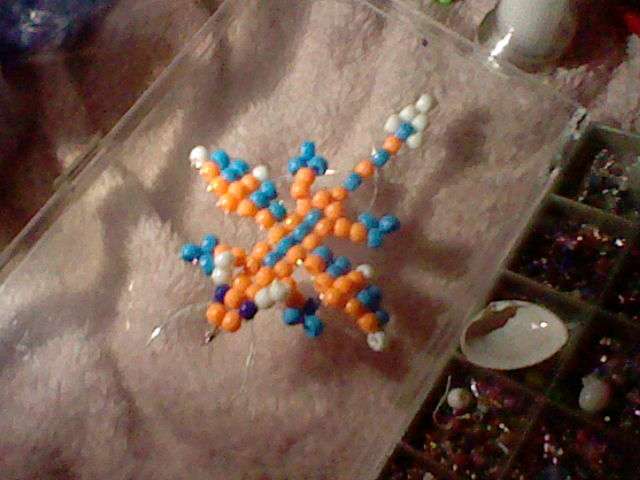
And now you have a wingless dragon!

If you were maeking something like Shenlong then youre done! But if you want to add wings then thet is next...
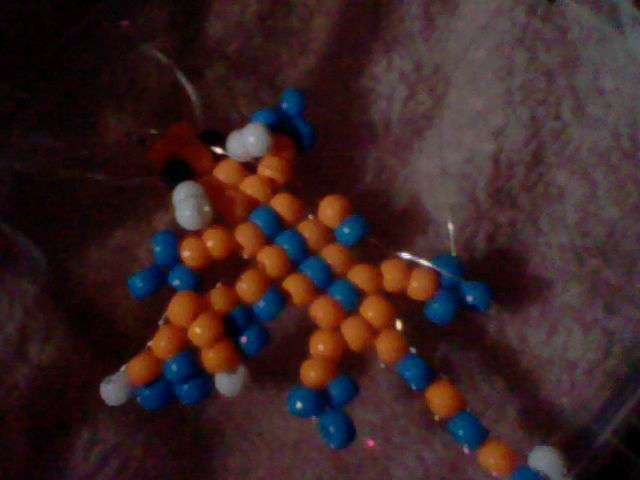
Wings (Optional):You have to start with cutting a new piece of wire. You need a pretty good amount, less than the main body though i think. I sometimes tie together scrap wire into one big piece to be less wasteful.
Take the very tip of the wing (one single bead here...) and cross it on to the center of your wire.
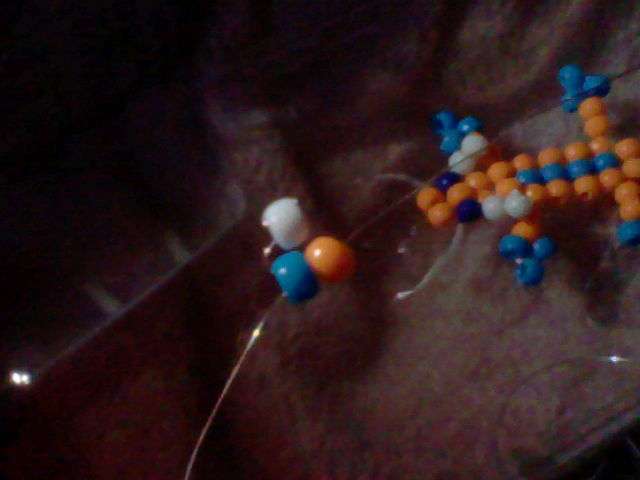
Then you start to cross on the next columns. While you built the body of the dragon vertically, you build the wings horizontally.
Build all of the first wing the same way.
Then thread the wires through the middle segments of the body, the top wire through the top middle and the bottom wire through the bottom middle obviously. pull it tight!
Start to cross on the columns for the other wing. You do it the same way you did the first but in reverse, with the part clsoest to the body first...
...and the tip of the wing last.
Tie the wire off and cut the ends like you did on the tail tip.
 And yuore done!!!
Ive never made a toturial before so i hope this is easy enough to follow.. i can answer any questions anybody has though

ok bye!!